
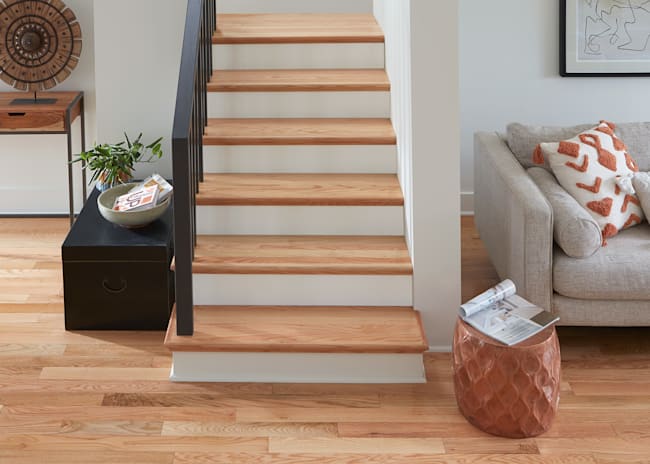


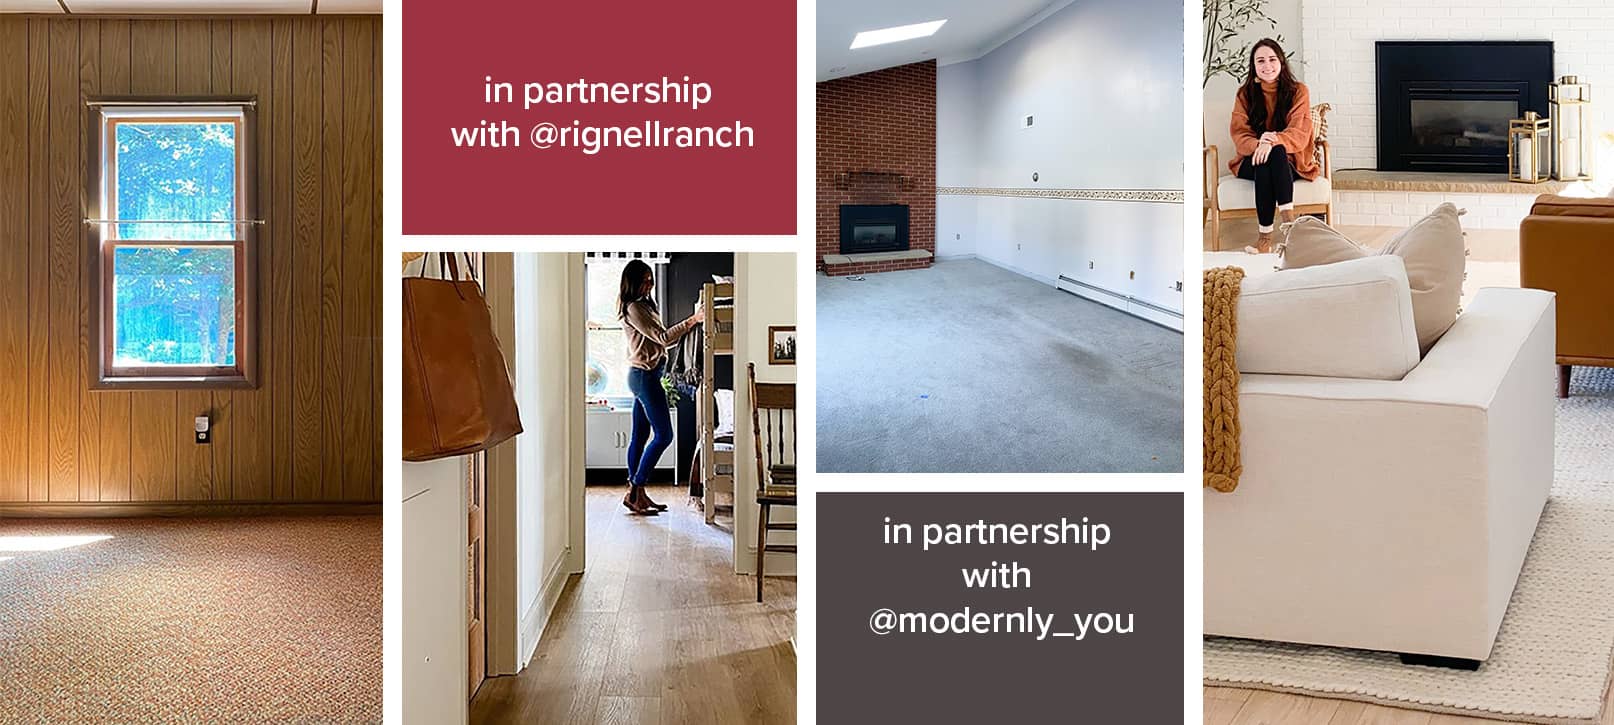
From rustic to modern, and everything in between. Explore trends, tips, & design projects with the LLStyle community.
Floor-finding Tools


Flooring Ideas by Room


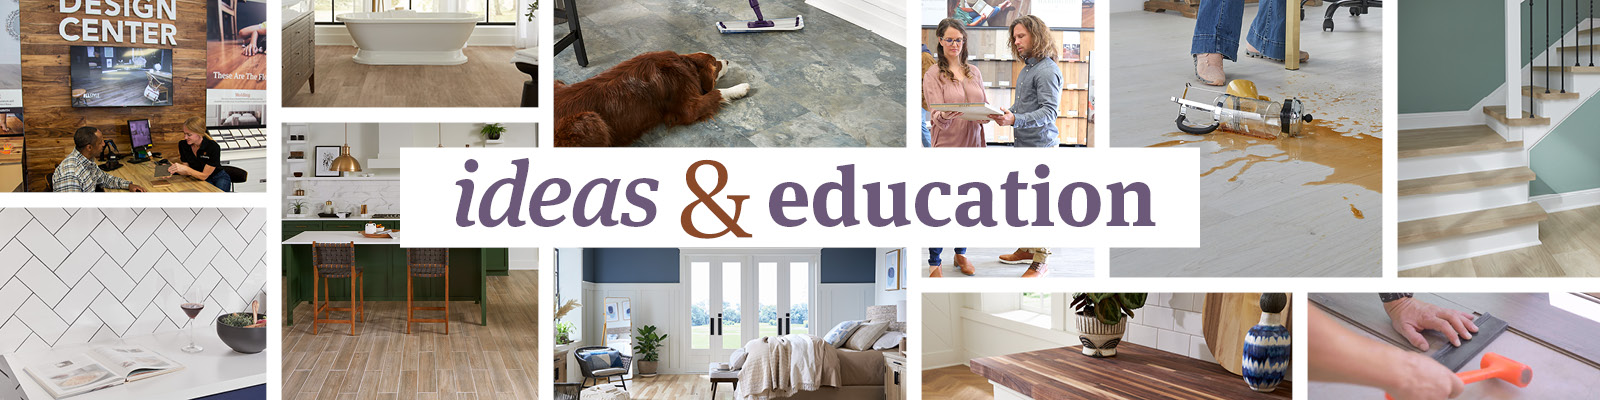
Inspiration, advice & guides all in one place
your life | your style | your home | LLStyle Blog


Spring 2024 Catalog
Spring Awakening
Floors that inspire your space
VIEW NOW

From planning & installing to floor maintenance, learn flooring basics, tips & tricks with LL Education.


